Last week, I wrote about how much I love apple season and what you can do with pick-your-own apples. But I’ve heard from some folks that they don’t like picking too many apples because they are afraid to can.
That used to be me, guys.
I thought canning was some super scary, complicated process. I was afraid of how much time it would take and that I would make everyone sick. But it’s not hard at all! And making applesauce is so quick and easy that it is a perfect introduction to canning.
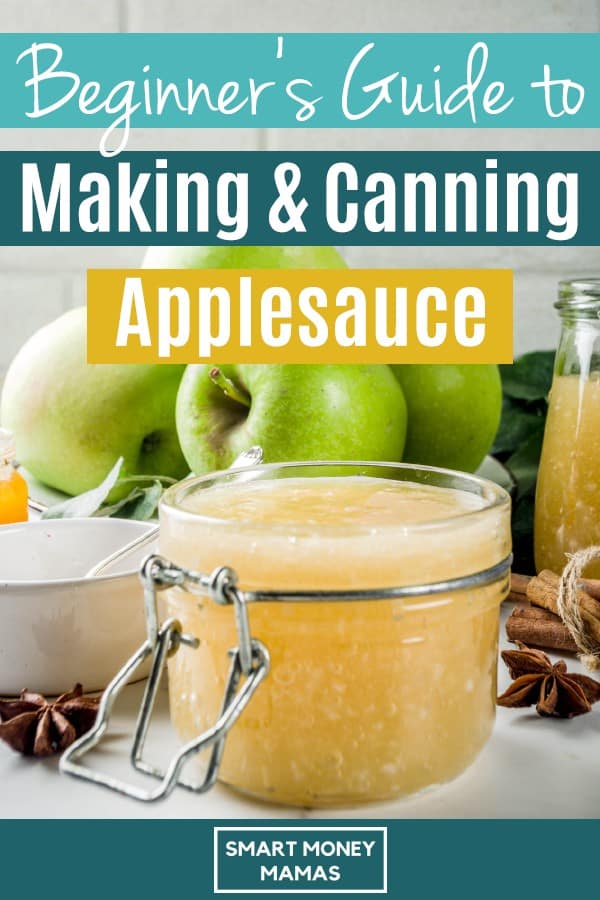
So, today, I wanted to share the step-by-step guide to making and canning applesauce that I wish I had as a beginner. Complete with pictures of this year’s first applesauce bonanza at the Brennan house! (Sidenote: This year, making applesauce saved us over 65% versus buying even the cheapest organic applesauce at the store. Win!)
Let’s get started!
Table of Contents
How to Make Applesauce
Making delicious applesauce is one of those things that requires basically zero cooking skills or added tools. You don’t need any fancy tools in your kitchen (though some methods are faster than others) and you can customize it with added fruits for unique flavors. Here’s what you need to know!
Decide on Method
Before you get started, you need to decide how you are going to process your apples. Do you just plan to mash them with a potato masher (or the back of a large spoon)? Are you going to use an immersion blender? Or do you have a food mill to separate the skins and seeds from the meat of the apple?
This matters because it determines how much work you need to do upfront. For example:
- If mashing with a potato masher, peel and core apples before cooking.
- If using an immersion blender, core apples before cooking (blender will break up the skins, so you don’t even notice it).
- If using a food mill, cook apples whole or just chop them in half.
For the first time this year, we used a food mill that we borrowed from a neighbor. It was so much faster, and I highly recommend if you plan to make applesauce, baby food, tomato sauce and such regularly.
Wash and Prepare Apples
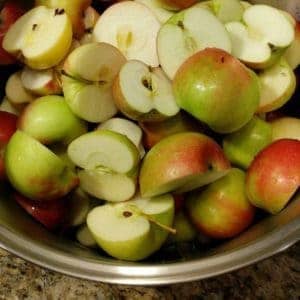
Whenever you’re making food, you want it to be clean. But this is especially true when you want to preserve the food. Wash all your apples and set them aside to process.
Once all your apples are clean, prepare them to cook depending on your method above. Because we were using the food mill this year, we just quickly chopped all the apples in half and dropped them in the pot.
Cook Apples
Are you ready for this? Add an inch or two of water to the bottom of your pot, cover and bring the water to a simmer. Stir occasionally to keep apples on the bottom from burning. Simmer for 10 to 20 minutes, until all apples are soft.
If you want to do a little applesauce twist, you can add other fruits to the pot before you simmer. Sometimes we add blueberries, peaches, or cranberries to mix it up.
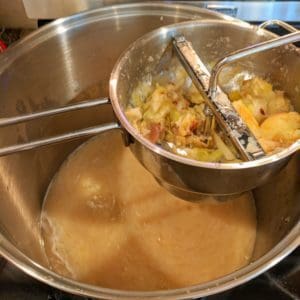
Process Soft Apples Into Sauce
Scoop your apples out of the pot and prepare to process! This year, I scooped the soft apples right out of the pot and into the food mill. But in past years, I transferred the apples into a big bowl to smash or use the immersion blender.
I always pull the apples out of the pot since I tend to have some water left over, and I don’t like the extra water making the sauce a little runny. However, a lot of people mash and smash the apples directly in the pot once they are done cooking. There is really no way to go wrong here.
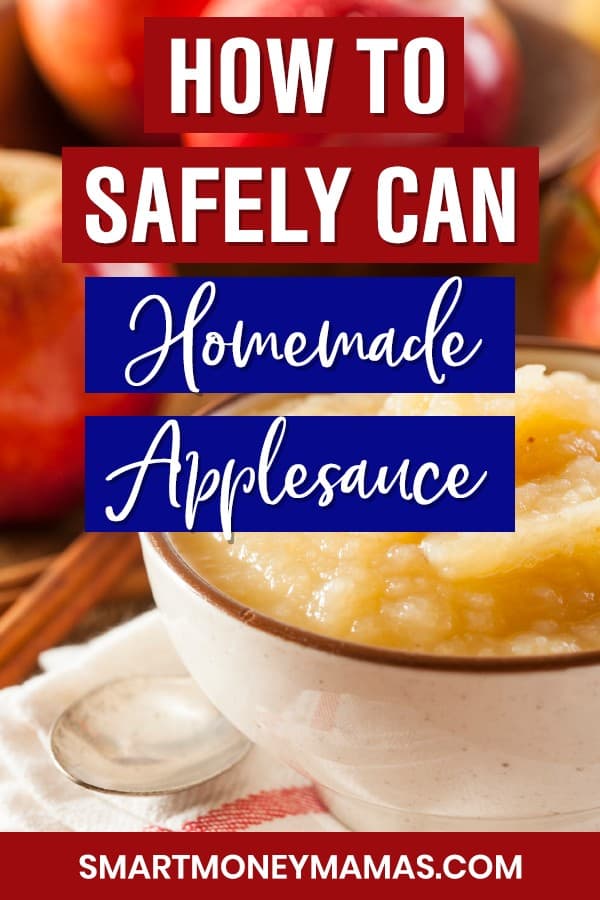
How to Can Applesauce
For a long time, I was super nervous to can anything. I was sure it was (1) super complicated and (2) that I would screw it up and poison everyone with food that wasn’t properly preserved. But once I fought through that fear, I discovered it is actually super simple. And you don’t need special equipment to can applesauce. (Except maybe a really big pot.)
We buy mason jars in bulk and use them for everything, but you can also find them sometimes at thrift stores or yard sales for cheap. Just remember to use new lids each time you can, since the gel part is only good for one seal.
In general, I recommend pint jars for canning or even smaller. We do a couple of quart size jars for Thanksgiving and Hanukkah (latkes & applesauce = YUM), but otherwise, that much applesauce doesn’t get eaten in time. Smaller is just more efficient.
Sterilize Your Jars
Remember how we washed our fruit super well? You need to make sure the jars are entirely sterilized before canning. There are a few ways to do this.
- Water sterilization: Wash with warm soap and water, then place in large pot, cover with water, and boil for 10 minutes.
- Dishwasher: Fill top rack with mason jars and run a sterilization wash cycle.
- Oven sterilization: Wash with warm soap and water, place on oven racks, bake at 250 degrees F for 10 to 15 minutes. Take out carefully with tongs and place on clean dish towels to cool slightly.

Also, take all discs for the lids, wash, and boil for 5 minutes in a small pot and leave in the water until you’re ready to use them.
Fill Jars With Applesauce
This step works best if the jars and applesauce are both warm. If your applesauce has cooled, you can heat it through on the stove.
Grab your funnel and start filling! If you don’t have a funnel, just carefully ladle your sauce in. Be sure to leave a half inch of headspace and that there is no applesauce touching the lid. This allows for the perfect seal.

Remove Any Bubbles, Top With Warm Lids
Check around the outside for bubbles. If you have a bubble remover (like the one from this cheap canning kit), use it to release the bubbles around the edges. I also like to tap the jars on the counter to release any bubbles in the middle.
Then, wipe clean the tops and edges of the jar, so there is no apple residue. Remove sterilized tops from the small pot and place on top of jars, so the gel edge is touching the rim of the jars. Tighten caps over the top until finger tight.
Submerge in Hot Water Bath
This is it! You’re ready to can! Woohoo!
Now, you can’t put the jars right in the bottom of the pot to boil when doing a hot water bath. You want the water to move freely around all sides of the jar. However, if you don’t have a canning rack, you can use a small cooling rack, or you could zip-tie jar lids together like this DIY genius. As long as they are off the bottom of the pot, you’re good!
Next, add water until the jars are covered by at least one to two inches. If you do less, make sure to check the pot during the canning process to make sure you don’t have to add more water. Keep those jars covered!
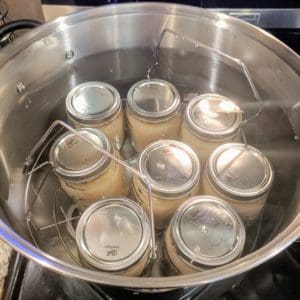
Finally, put the lid on your pot and bring the water to a boil. Let the water boil for 15 minutes for pint jars and smaller, 20 minutes for quart jars.
After the proper boil time, take off heat and let the jars sit in the water for about five more minutes.
Remove to Cool
This is a step to do uber carefully because everything is so hot. Fuss Fish is convinced he can do this step, at the ripe old age of two-and-a-half, because he plays with the jar tongs all year. But I still make him just watch.
With tongs (preferably mason jar tongs), lift the jars out of the pot and place on dish towels or trivets.
As the jars cool, you’ll hear satisfying popping sounds as the vacuum caused by the canning process sucks the lids down and finishes the preservation process. You’ll want to let the jars cool for at least 24 hours before checking the seal.
Check Your Seals
The very last step before moving your gorgeous jars into your pantry is checking the seals. These are the three easy ways to do it.
- Press on the lids: If the seal was done correctly, you shouldn’t be able to push down on the center of the lid. It will be concave and solid. If you push and feel a little pop, the jar isn’t sealed correctly.
- Tap with a metal spoon: A adequately sealed jar will make a high-pitched ringing sound when you tap the lid with a metal spoon. An unsealed jar will instead make a dull sound. This method always feels a little wishy-washy to me, especially if there is food touching the bottom of the lid, but it’s fun to try.
- Look for concave shape in the lid: When the jar is sealed, that safety button in the middle of the jar is pulled down, giving the lid a concave shape. Look at the lid from the side. If the lid is flat or has an upward bump in the middle, it isn’t sealed properly.
Sealed jars are ready to store and are safe to use for up to a year. Unsealed jars can either be re-processed in a canning bath or eaten. Enjoy!
Enjoying Homemade Applesauce All Year
A half bushel of apples from our favorite orchard in Vermont cost just $14 (and we got to pick all Honeycrisps!). That half bushel turned into 2 gallons plus 3 quarts of applesauce. The cheapest organic, no sugar added applesauce at the local Wegmans costs $2.69 for 23oz, or $41.17 for an equivalent amount of applesauce!
Plus, the gorgeous applesauce we made ourselves looks lovely in the mason jars and is a perfect, thoughtful gift for family and friends!
Have you ever made and preserved your own applesauce? What’s your favorite method? Let me know in the comments!